The laser engraver in the ARC Design Hub can be a learning process to new interns. During the first couple weeks at the design hub we train and teach our interns how to use and/ or the purposes the laser can do for us. We are still new to laser but we always will find new tactics on how we should operate the laser. Either finding the right settings or experimenting on pieces of scrap materials to see how it will turn out.
What does the laser engraver used for in the ARC Design Hub? What can we make with the laser we have?
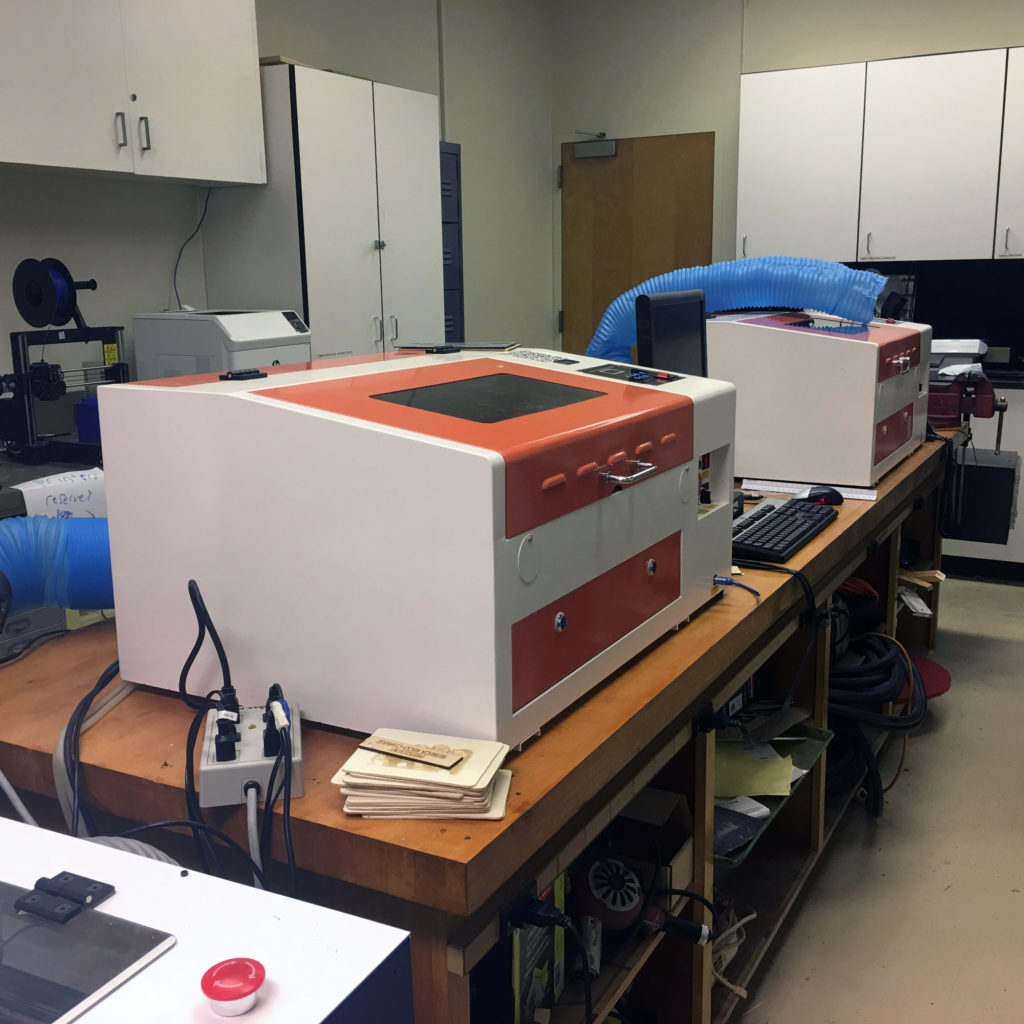
Here in the Design Hub we currently are using two laser engravers in the back of room 311. The laser Engraver is used for ton of projects for our clients and personal uses. Designers here at the Design Hub create wonderful projects to help support the hub with their creativity. Just like the Retopo Map blog we did awhile ago, they used the laser for that project. Interns are able to used the laser for personal projects to create unique types of physical merchandise.
What types of merchandise or products can you use to make stuff here in the Hub?
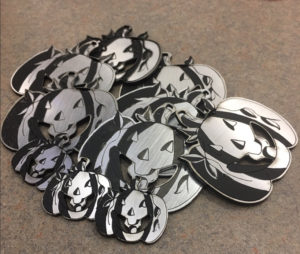 The types you can make in the laser engraver is the following: Sketch book covers, key chains, ornaments, etc.
Let your creativity wonder around the ideas of creating wonderful types of pieces out of any materials like wood and plastic.
Although, It can also be used for educational purposes like making flash cards out of plastic or making pieces for a game board for and educational game.
How does the laser function and how can you get a decent design without it melting or making the design look weird?
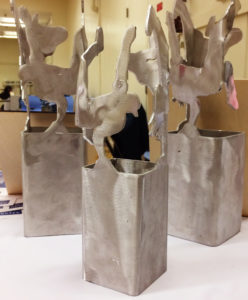
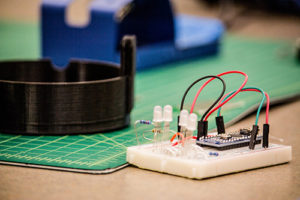
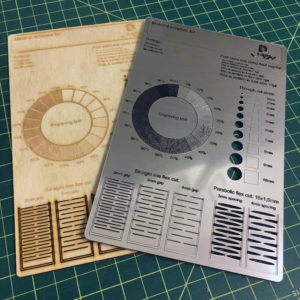 Muhannad Abbas, who is very well experienced and excellent with the laser made these templates out of wood and plastic.
The templates shows how the laser reacts to the type of material it touches depending on the shading of the grey is being used.
Too much power on the laser with a really dark color may burn the wood or melt the plastic. With the used of this template the designers are able to understand how the laser works and how much they need to make their projects a success.
How can people outside of the Design Hub apply or request stuff to get printed?
On the ARC Design Hub Website we have a work request area. This area your able to request projects that our interns can print out for you. Their are examples and a request form to get started!
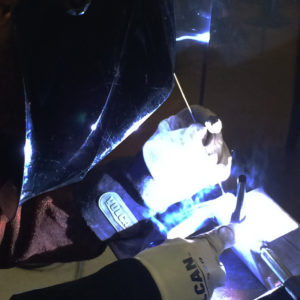

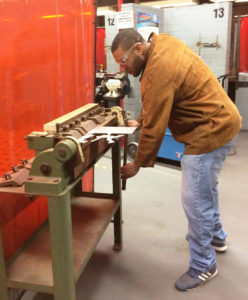
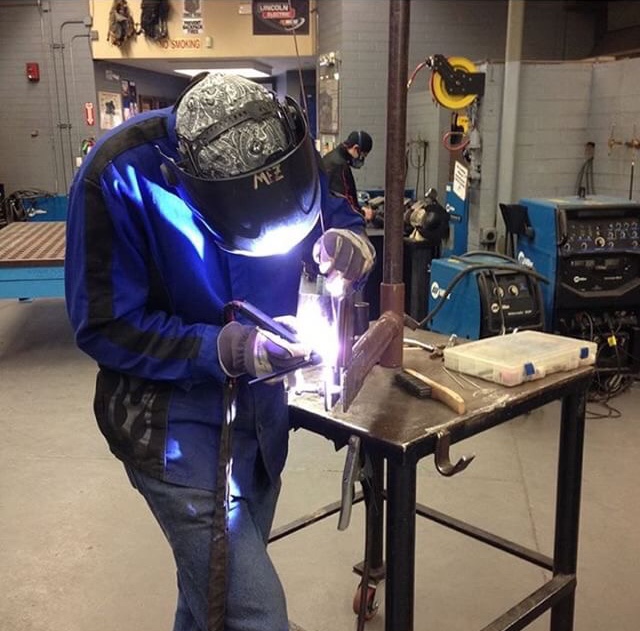
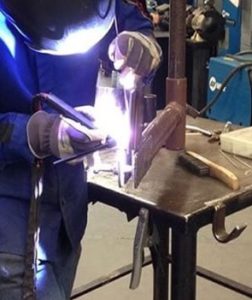 Design Hub student Shayn found inspiration in his teacher’s words: “You just gotta do it!” Quoted from none other than the welding professor here at ARC, Chris Messier. “When he’s not teaching his students all he knows, he’s creating vacuum chambers with gloved hands and sheet metal. He is pictured giving an example of the TIG- or GTAW- welding process, something that is proven to be a pretty tricky task. Shayn tells us that he is taking his fabrication and blueprints reading class in the welding department at ARC. As Shayn explains this process, he gives us a piece of welding slang: “stacking dimes”, which is the process of getting the weld to look like dimes that have been melted on top of each other. “It’s actually the sign of a job well done,” Says Shayn. Seeing students inspired by their professors is always a great thing to see. Teachers leave not only an impression on the students, but on the campus community of makers, including those here at the Design Hub. Thank you Chris Messier for all that you do, and thanks to Shayn for sharing! More of Professor Messier’s work can be found on his instagram page: @mez_welds
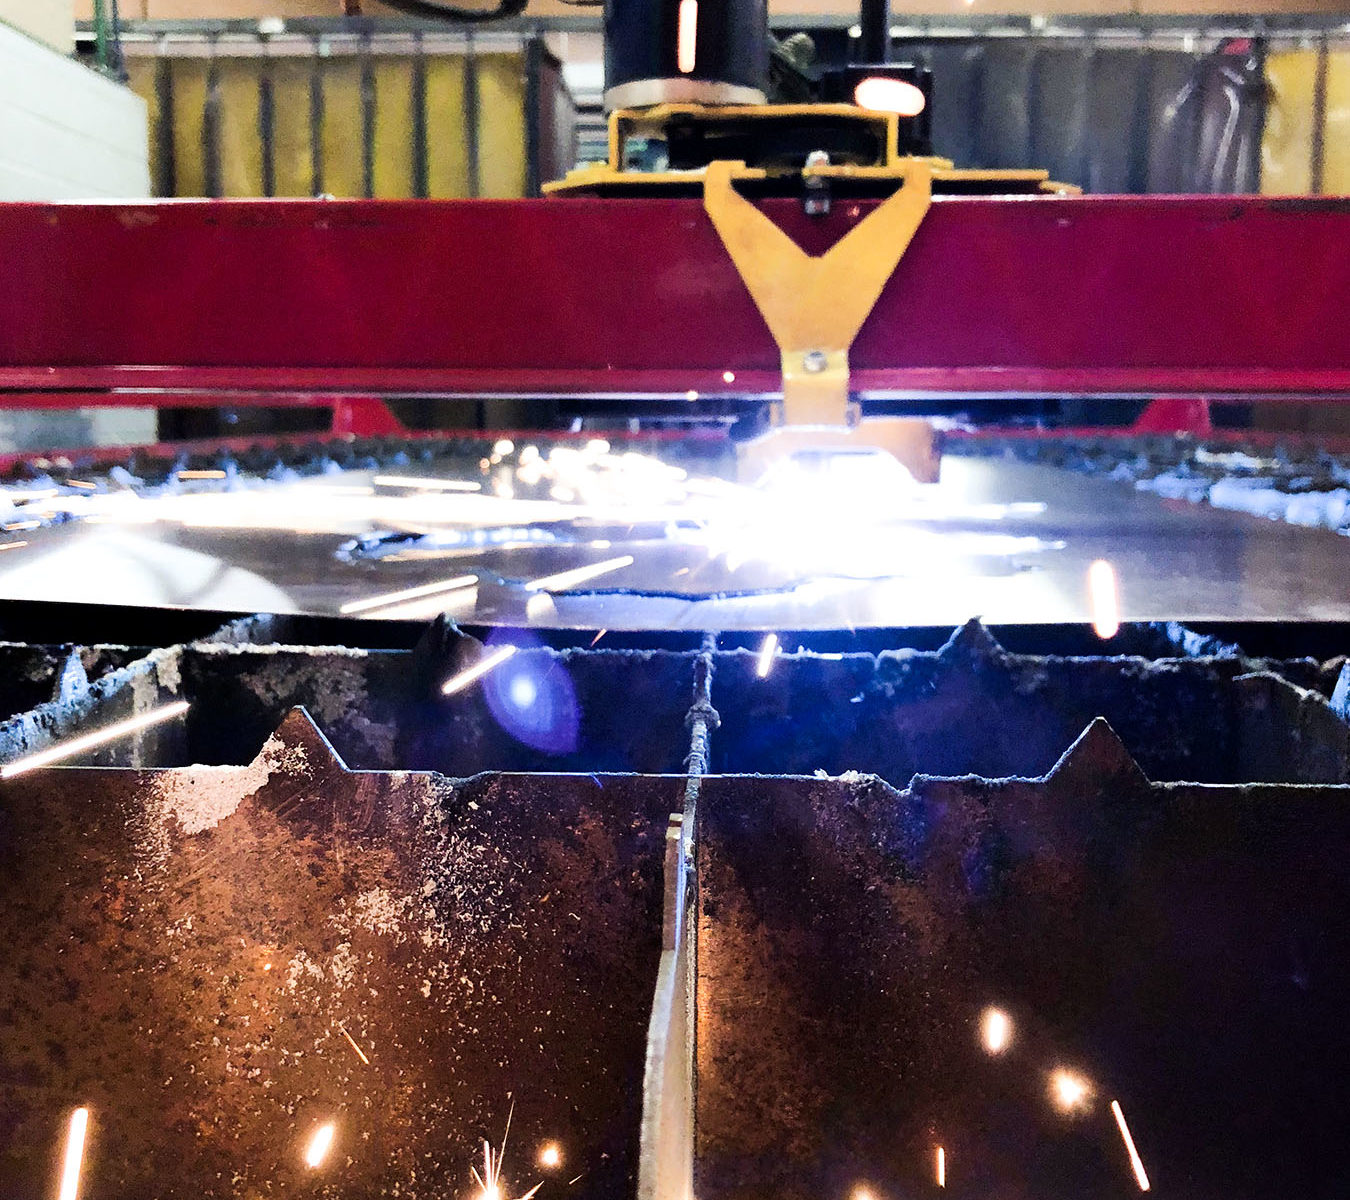
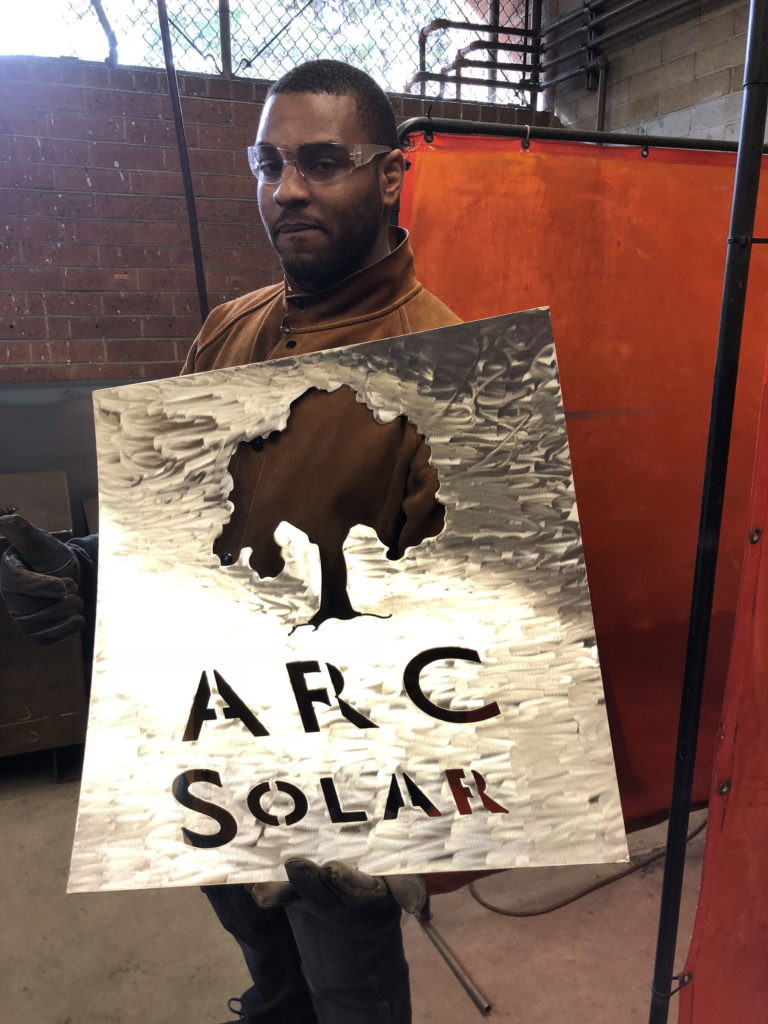
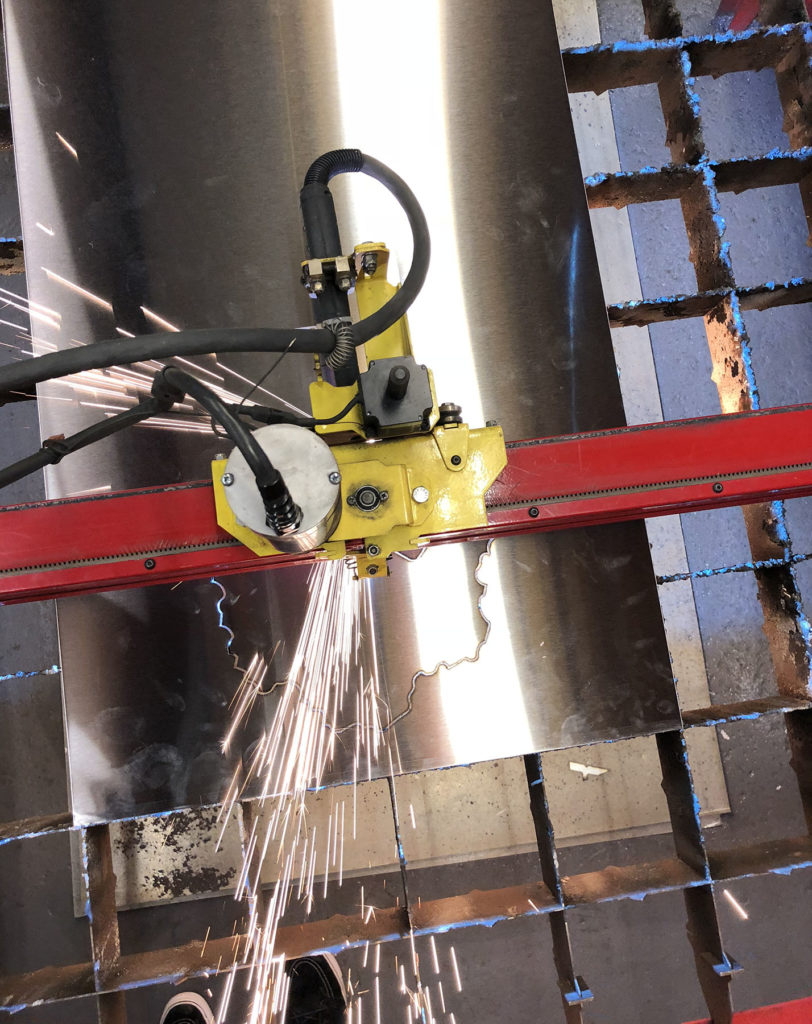
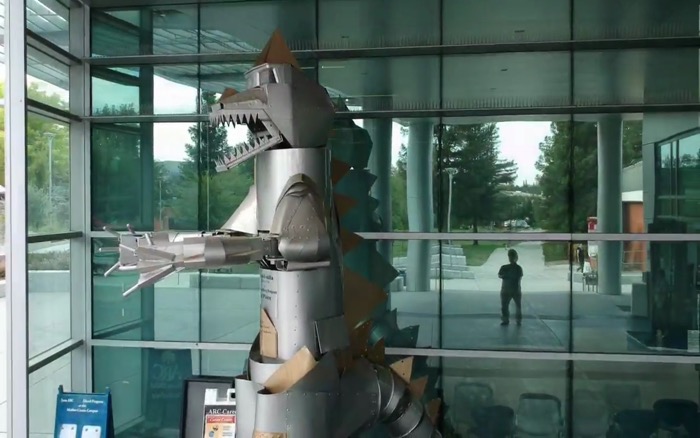
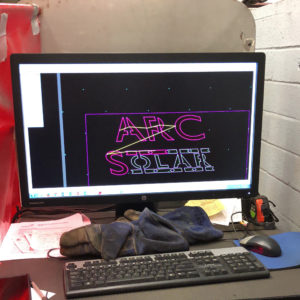 We took a closer look into the process of making these signs. Needless to say, there are a lot of steps and close attention to detail that is involved. First, our intern Allen has to align the Plasma Cutter with the sheet of metal through coordinates on the computer. After aligning the Cutter, a font must be picked and placed within the coordinates to determine where they will be cut on the metal.