Rocket Car Competition

On Saturday, October 13,2018, The design hub collaborated with the several students from San Juan High School. Bryan and Stephen and their instructor James participated in this Rocketcar event.

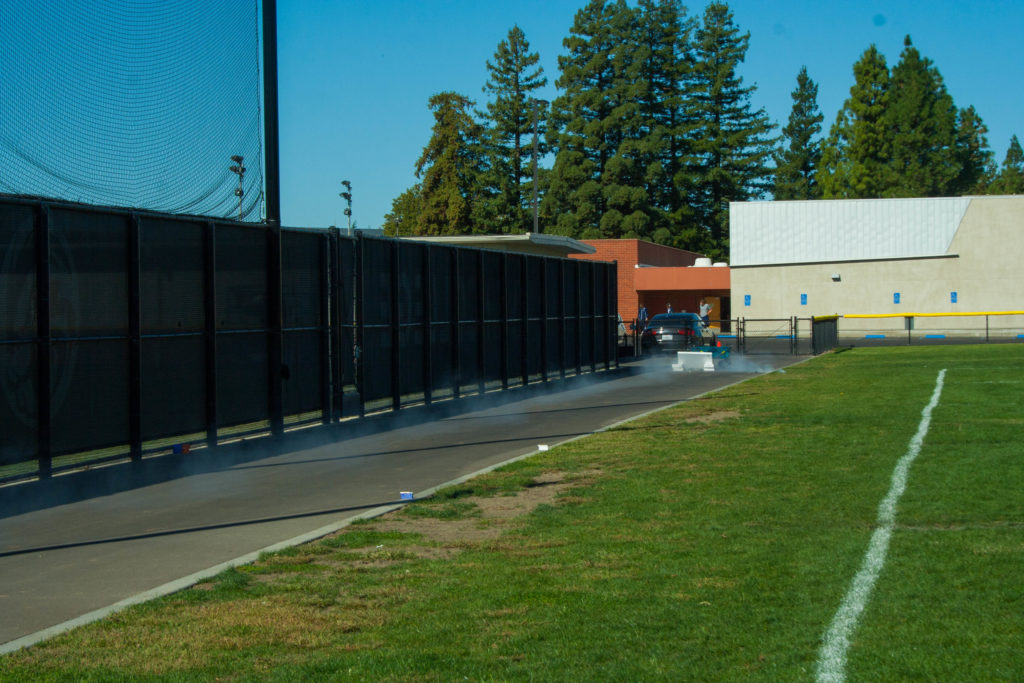
It was located in the football fields behind the pool and gymnasium area.


The participants from San Juan High school collaborated with the individuals from the Design Hub including Randy Schuster, Gavin, Kai, Kevin, and Jason. Also Participating in the competition are three ARC Design Hub interns: Justin, Marlo, and Muhammed. They worked on 3D printed designs and Melissa did the soldering.

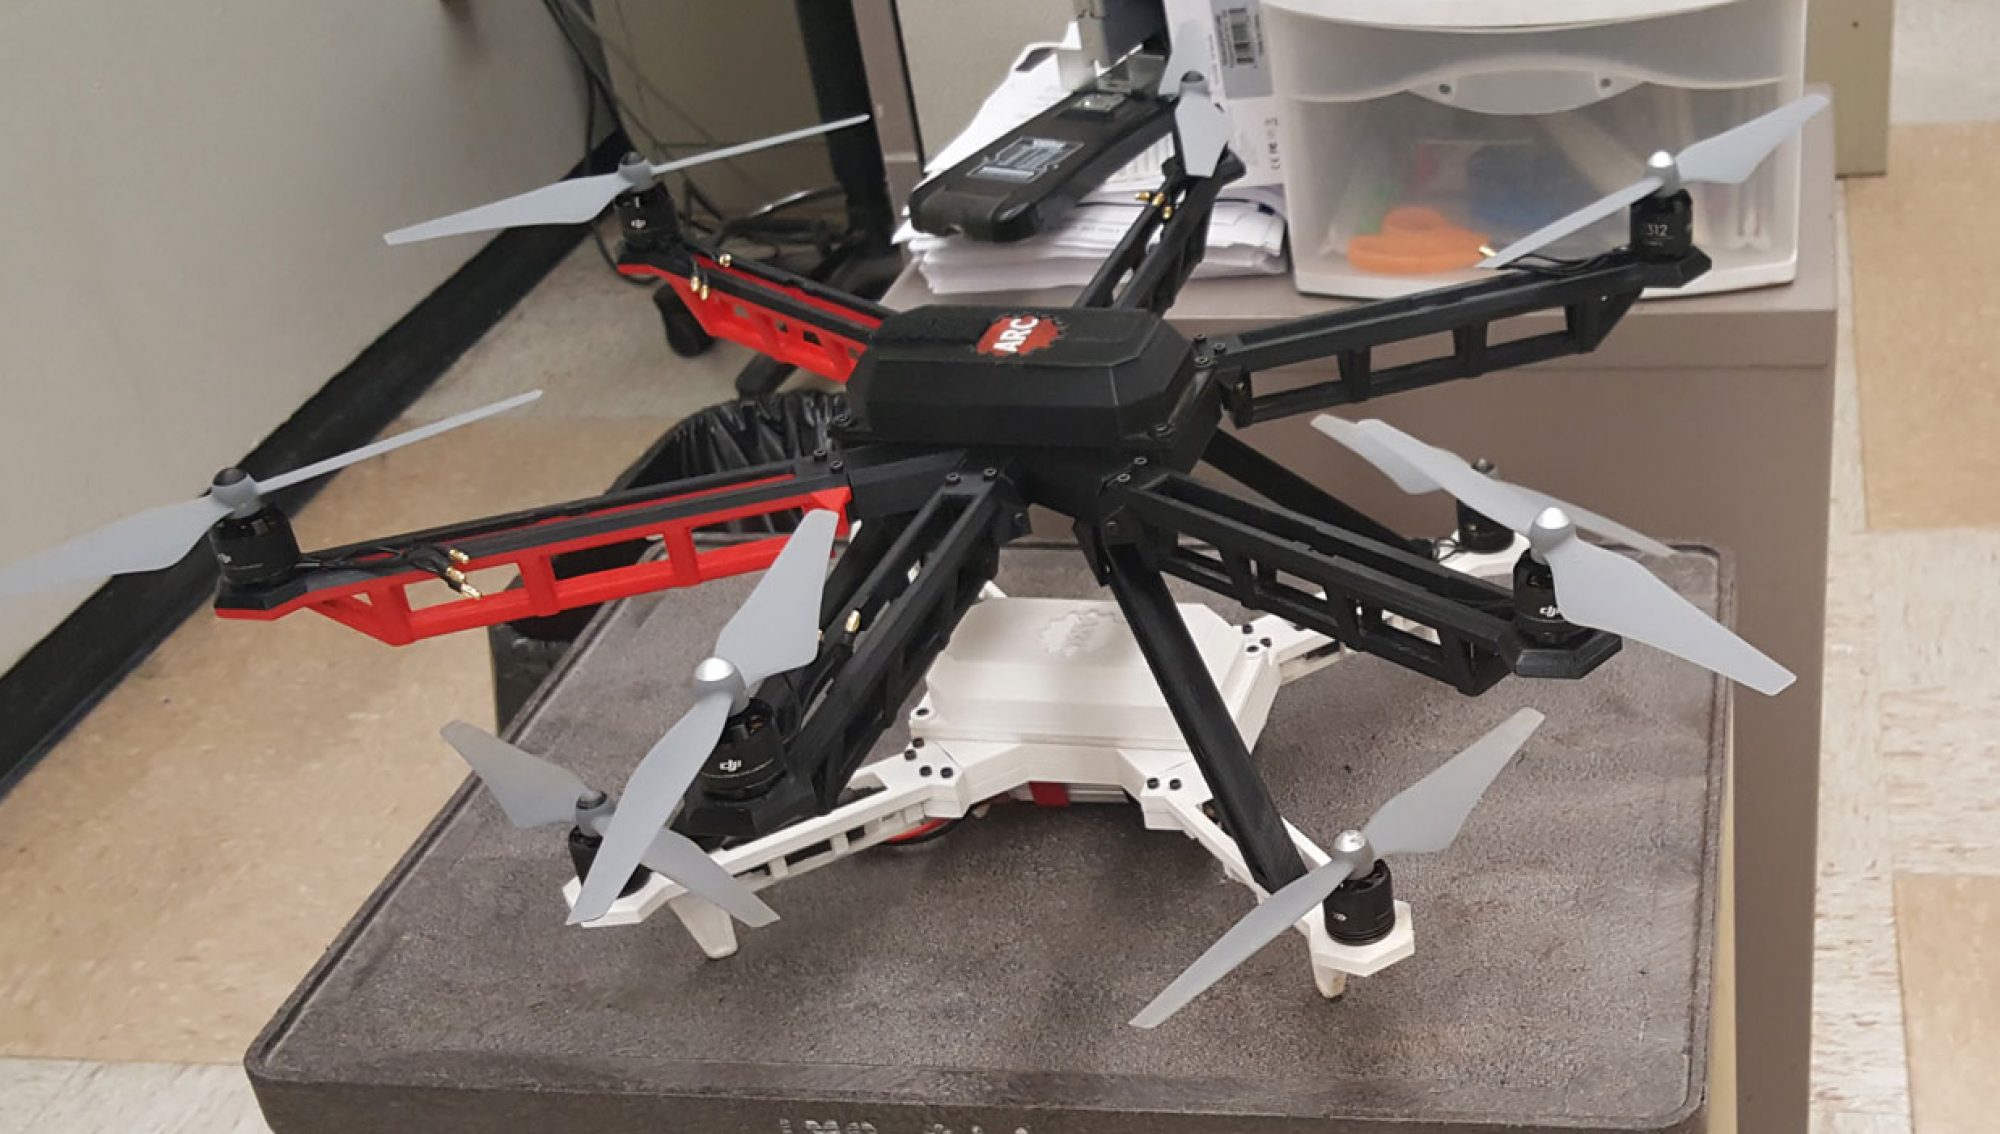
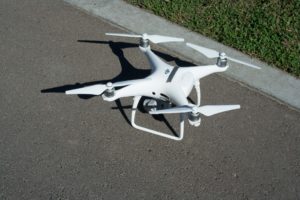
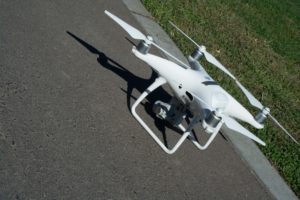
Since one of our interns Jason who is skilled as a drone pilot, Helped filmed the event aerial style. Jason’s Company , J&S Drone Solutions, was also involved in the event, he flew his own drone!


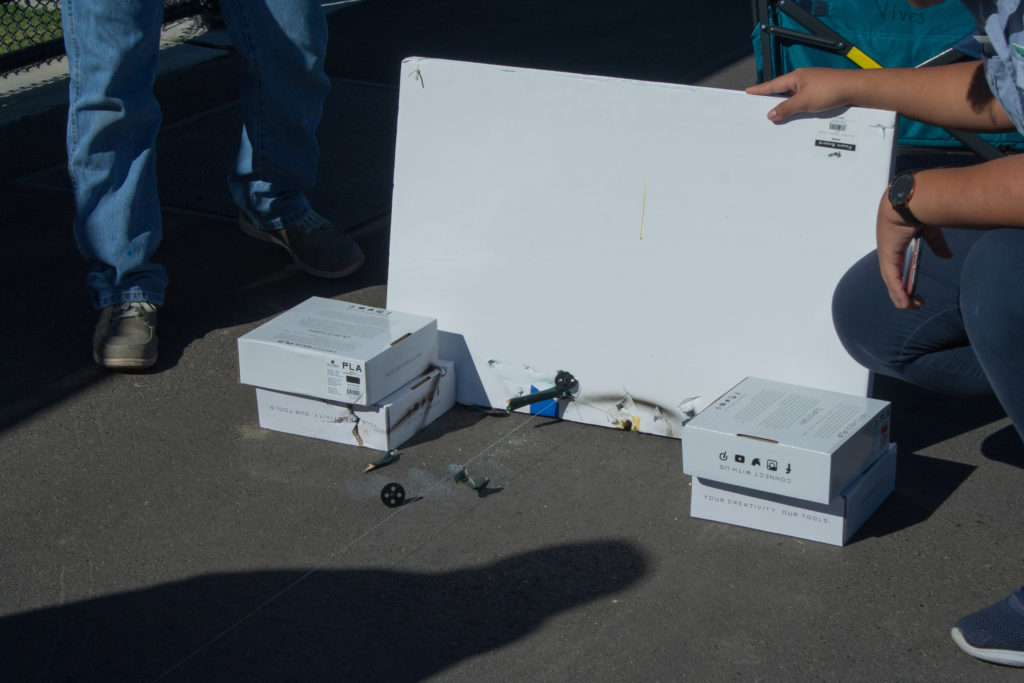
The physics Department ordered this project from Randy, Due to the concern about the the limited aerial flying. Since the airspace around ARC is located so closely to a hospital. Instead, of hosting a drone flying competition. They decided to host a rocketcar competition. Where the main action would be taking place on the ground and not the air. Sean Franklin developed the first  rocketcar over the summer. Competition was hosted to unite the high school and college communities.

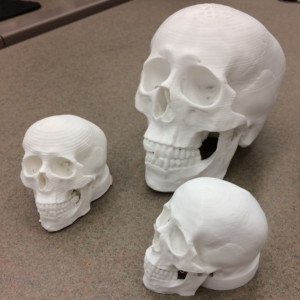
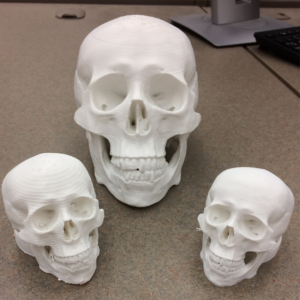
The participants received 3D printed trophies to honor their victories!  

Here are the results:

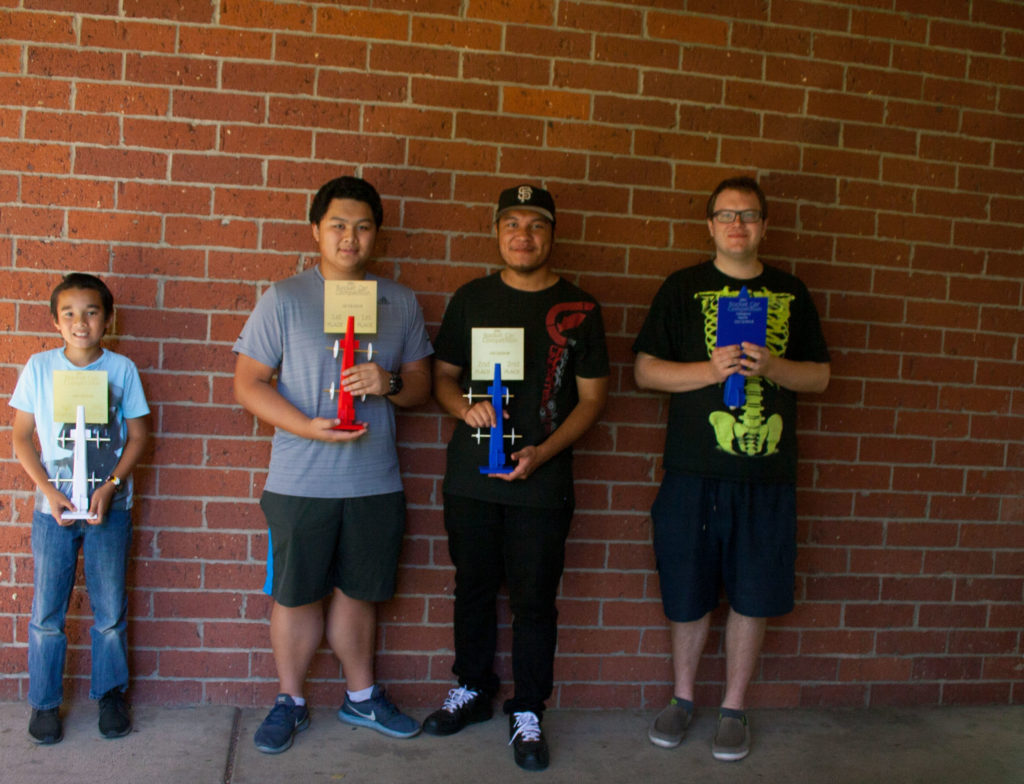
1st  – Steven … Representing San Juan High School … 50 mph
2nd – Bryan … Representing San Juan High School … 48 mph
3rd – Kai … Representing the Design Hub … 20 mph
HM – Gavin … Representing the Design Hub … Well over 50 mph but too low to register on our timer

Fidget Spinner Gear Box

Ivan, intern from the Design Hub, has made the next gen fidget spinner.

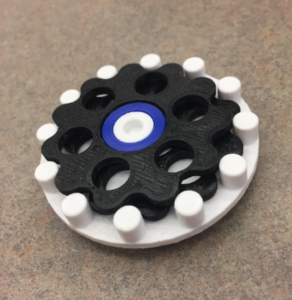
 The fidget spinner made from a transmission gear box that can be reduced 1 to 10. Which means the ratio of the numbers of turns that the fidget spinner moves.

This individual project was originally intended on being model for a transmission gear box. But not for heavy industrial motors such as those found in cars or any other kind of automobiles. The actual one will be for smaller, motors that would accept it better. Since the model was finished, Its original use of the project as a model had been completed.

So now its new purpose is a handy dandy fidget spinner! Discovered by ARC Design Hub Head Randy Schuster.

Ivan’s current plan is to build 10 fidget spinners out of this little plastic model.  The final product of this model will move and twist at a super slow speed, Its a creative way to put this idea together.

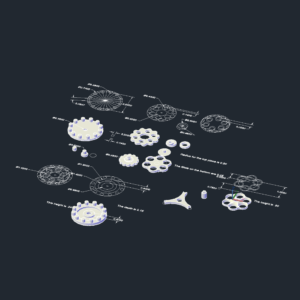
Modeled and designed using the program, AutoCad. Its also Ivan’s deliverable from Randy.

The stack of ten fidget spinners will not be sold as a whole. However, each individual fidget spinner will be going on sale soon in the ARC Bookstore.

The price of the fidget spinner is going to be approximate $4 per spinner.

Since the model is made out of plastic its not going to be used as real motors.

The real one is made from a sturdy material such as metal and steel. It took Ivan 3 days, Approx. 6 hours to design the model himself. It took one week of 3D printing to make it come to life!

Conversion of PLY file to STL

Katrina is an anthropology professor here at ARC. Is doing all 3D printing.

A femur bone, Known from our website if you saw the header.

So we the design hub have built a 3D printer for Prof. Katrina . She is responsible for the Anthropology of printing bones and studying the bones from dig sites.

https://www.britannica.com/animal/tarsier/media/583719/219537

According to the Encyclopedia Britannica, ” Tarsier is a primate found in various of islands in Southeast Asia. They look like a lemur and a monkey combined. ” Picture from the site is displayed on the left.

In the Design Hub we have amazing 3D modeling students that can help fix any model that the clients need fixing.

Unlike Engineers who work with numbers, the artists can visualize and make decisions on what something looks like. they are able to look at many references in need if they do struggle in dire situations.

Anthropologists give really good data, which they are able to access a certain software.  This certain type of software is called “Mesh Lab” . Which allows us to access the data we need. Prof. Matt Stoehr and some modeling students were able to arrange the data for the 3D printer. Which she can go ahead and print  what ever she needs.

If there was any mess ups in the scanning process, the artists are able to clean up any screw ups that were left behind.

When Traiser was scanned it came out all pixelated squares. Which was the interesting part of it. But our artists were able to smooth and make the scan look what it should look like.

ARC Intern Chris Porter, A 3D modeler and animation student had worked with her on stuff like this right now.

Femur

Engineers built a long beds so that she was able to print larger scaled bones such as the femurs.

From there she will be able to print any bone, or even huge human femurs. It can even print the entire skeleton!


The Folsom Lake 3D Wood Carved Map

Map of Sacramento Folsom Lake

This wonderful materialistic piece created by Aygul Akhmadeeva shows off how beautiful her project has came out.

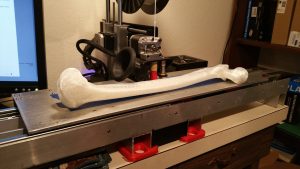
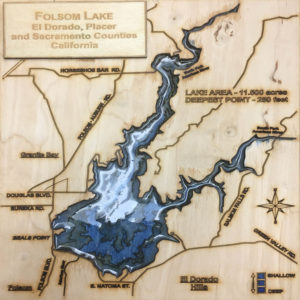
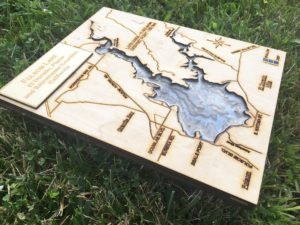
This project might interest Sacramento residents due to a 3D look of the Folsom lake map! Sacramento’s most populated Lake , Folsom Lake is a place worth getting water from Tahoe’s mountain range. Its light blue color ,this map features all main roads leading up to the lake.

The Depth of the lake is shown in the pieces as well. They decided to not stop on working with wood, but add a new material to make the project interesting but also challenging and experimental. They decided to work on a material that they never used before- epoxy! The Materials used in this project was wood, clear casting epoxy, blue epoxy, it is filled that will create a realistic view of the lake water.

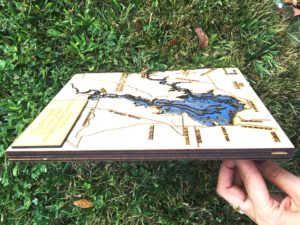
It measures  approx. 10 ½ x 8 ½ x 5/8 ; This piece is about 5 layers thick!!!

Aygul Akhmadeeva stated, “ If we do a couple layers of a 2D cut of wood we can create a 3D visual effect.”


This project took about a month to complete. Aygul stated, “ It is possible to create this project within 1 day only with all equipment and material available.”

All projects have there side effects or there difficulties within a certain project. One was choosing the settings for the laser. Second, was to get familiar on how to work with epoxy. Due to its ingredient being limited time only to use it. The way Aygul accomplished this process was due to making dozen of experiments with the material.

Day of the Dead

Day of the Dead. In this holiday focuses on the gathering of families and and friends in praying to remember family and friends that have died.

Here at the design hub we are working on a seasonal project for this special holiday.

The project began October 1 and will continue until November 2, when the Day of the Dead officially ends.

Photos taken by Angelique Doty

They are making a small scaled skull to sell at the bookstore for approximately one dollar per skull.

This creative idea was suggested by one of our amazing interns Erika Gonzales. Who thought of this project due to a previous project  “Bobble-head Project”.

The bobble-head project is about peoples heads getting scanned by the 3D scanner by the 3D scanning interns here at the Hub. Making it into amazing scanned heads for bobble-heads.

Photos taken by Angelique Doty

The project inspired the idea for this project to create skulls using the same method as the bobble-heads.

First, a full sized skull that Erika brought in was scanned. Next they 3D printed this life sized skull. Now, Smaller Scale skulls are in the progress of being created , Then painted by the Artist team.


The artist team consist of : Erika, Summer and Regan. 

Currently, the artist team is finding a location to sell these 3D scanned and printed skulls at any local Day of the Dead Event.

Future development from this project includes making the skulls into bobble-heads, earrings, and charms for people to make their own jewelry from them such as necklaces and bracelets.

Final step of this project is to paint and seal the skulls  in the paintwork with a special sealant that prevents any staining.  

Then the skulls will be all ready for selling!