We sat down with Dave and Melissa to explore their new project titled, Constant Backflow Monitor. Interns Dave and Melissa, along with Prof. Randall Schuster worked on this project. Randy was asked by a former co-worker who works in the industry for this project. The Constant Monitor Backflow project is a new system where we monitor the backflow prevention to detect problems before they happen. The purpose of the backflow preventers is to prevent the contamination of the pure water on campus with the sewer lines.
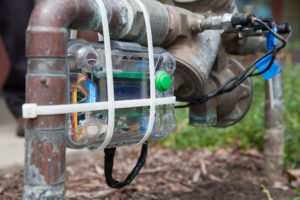
Now, it can be constantly monitored which will help to detect problems sooner so that they can be fixed in a timely manner. This project was ordered because the annual tests would only detect problems once a year, but now it can detect problems to be fixed quicker which will increase productivity, and they do not need to turn off the water for the constant monitoring, where with the annual tests the water had to be shut off. The project began about two years ago, and the interns predict that it won’t end because the project is constantly evolving and they are brainstorming new ideas to improve its productivity. They hope that by the end of the summer, there will be monitors over the entire campus. Currently, they have one backflow moinitor. By the end of the summer, the interns’ goal is to have one monitor per backflow all over the campus. By increasing the number of monitors, this will help increase the prevention of problems.
Design Hub interns, Bailey Wineland and Angelique Doty, were responsible for documenting this project with photographs and written articles from interviewing them.
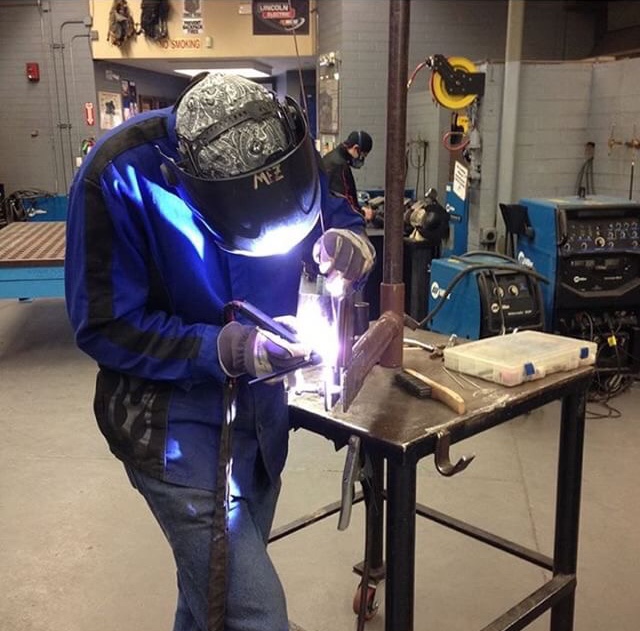
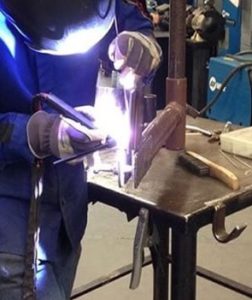 Design Hub student Shayn found inspiration in his teacher’s words: “You just gotta do it!” Quoted from none other than the welding professor here at ARC, Chris Messier. “When he’s not teaching his students all he knows, he’s creating vacuum chambers with gloved hands and sheet metal. He is pictured giving an example of the TIG- or GTAW- welding process, something that is proven to be a pretty tricky task. Shayn tells us that he is taking his fabrication and blueprints reading class in the welding department at ARC. As Shayn explains this process, he gives us a piece of welding slang: “stacking dimes”, which is the process of getting the weld to look like dimes that have been melted on top of each other. “It’s actually the sign of a job well done,” Says Shayn. Seeing students inspired by their professors is always a great thing to see. Teachers leave not only an impression on the students, but on the campus community of makers, including those here at the Design Hub. Thank you Chris Messier for all that you do, and thanks to Shayn for sharing! More of Professor Messier’s work can be found on his instagram page: @mez_welds
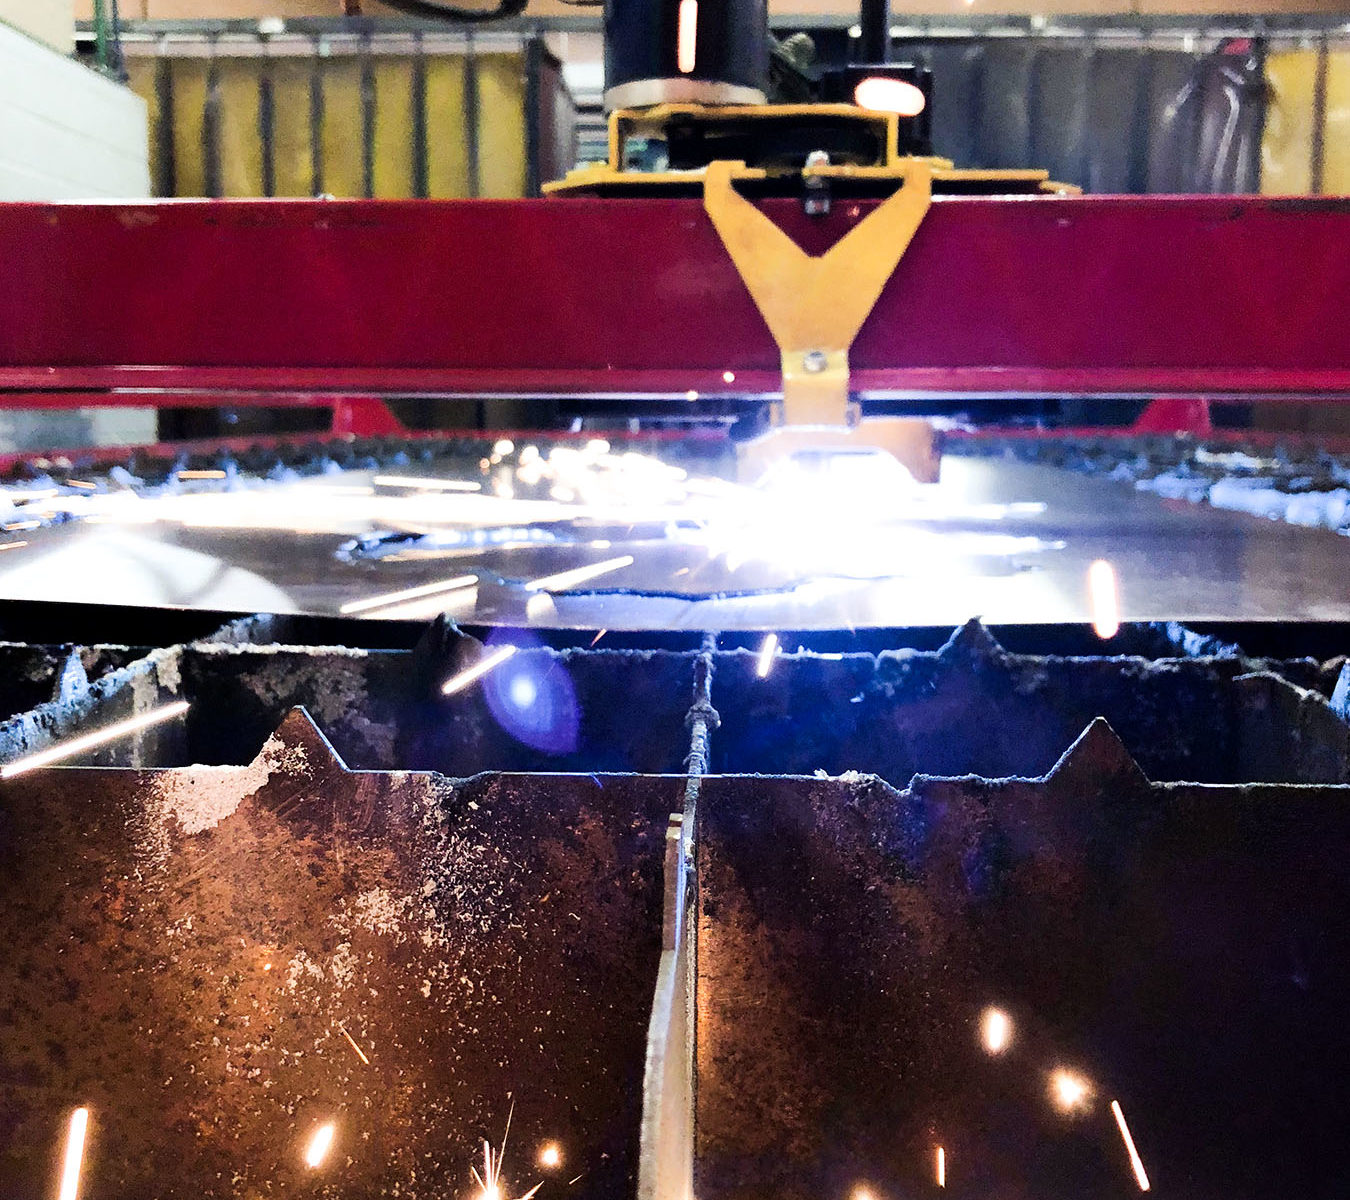
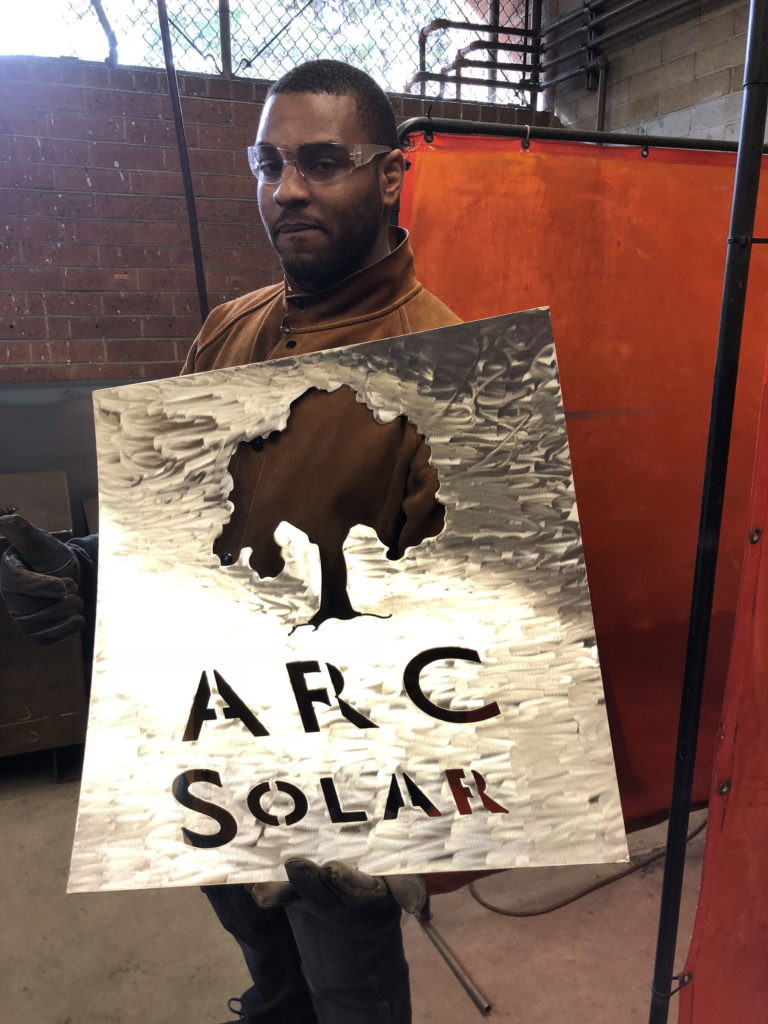
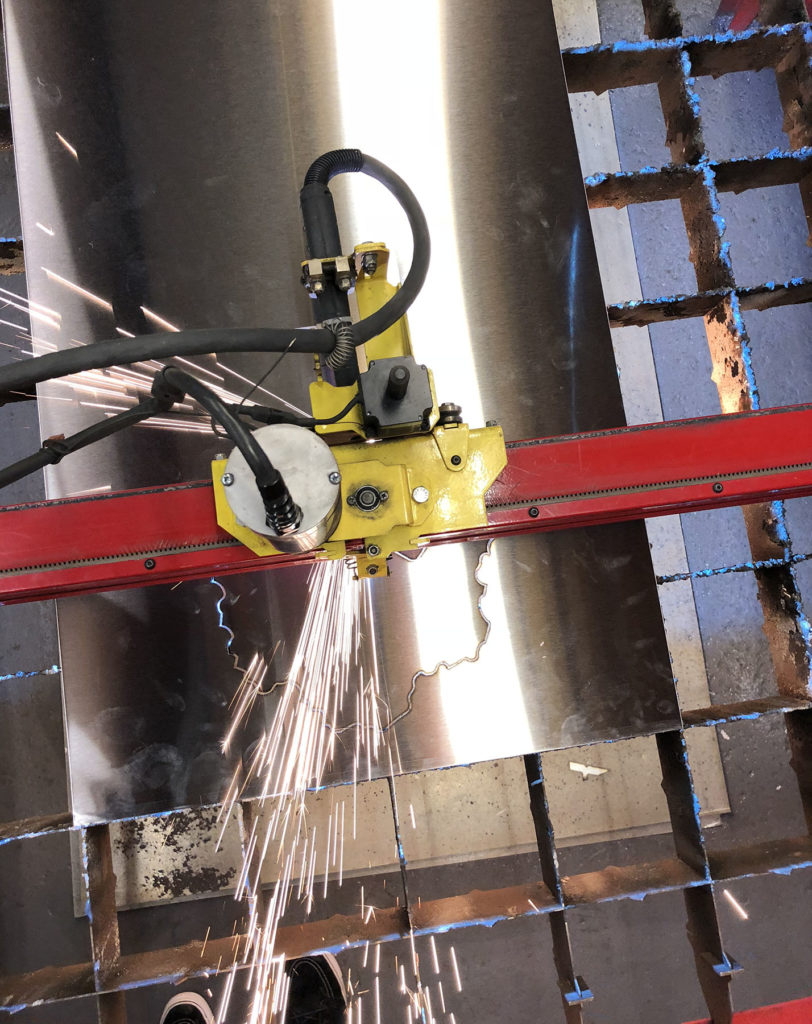
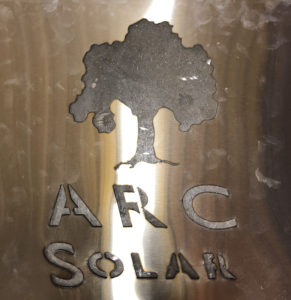
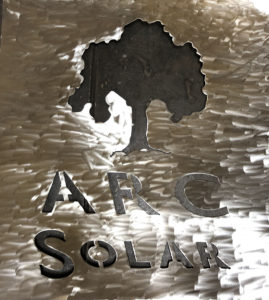
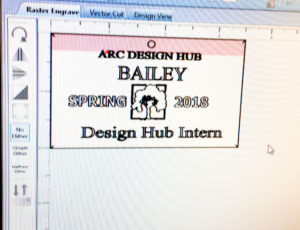
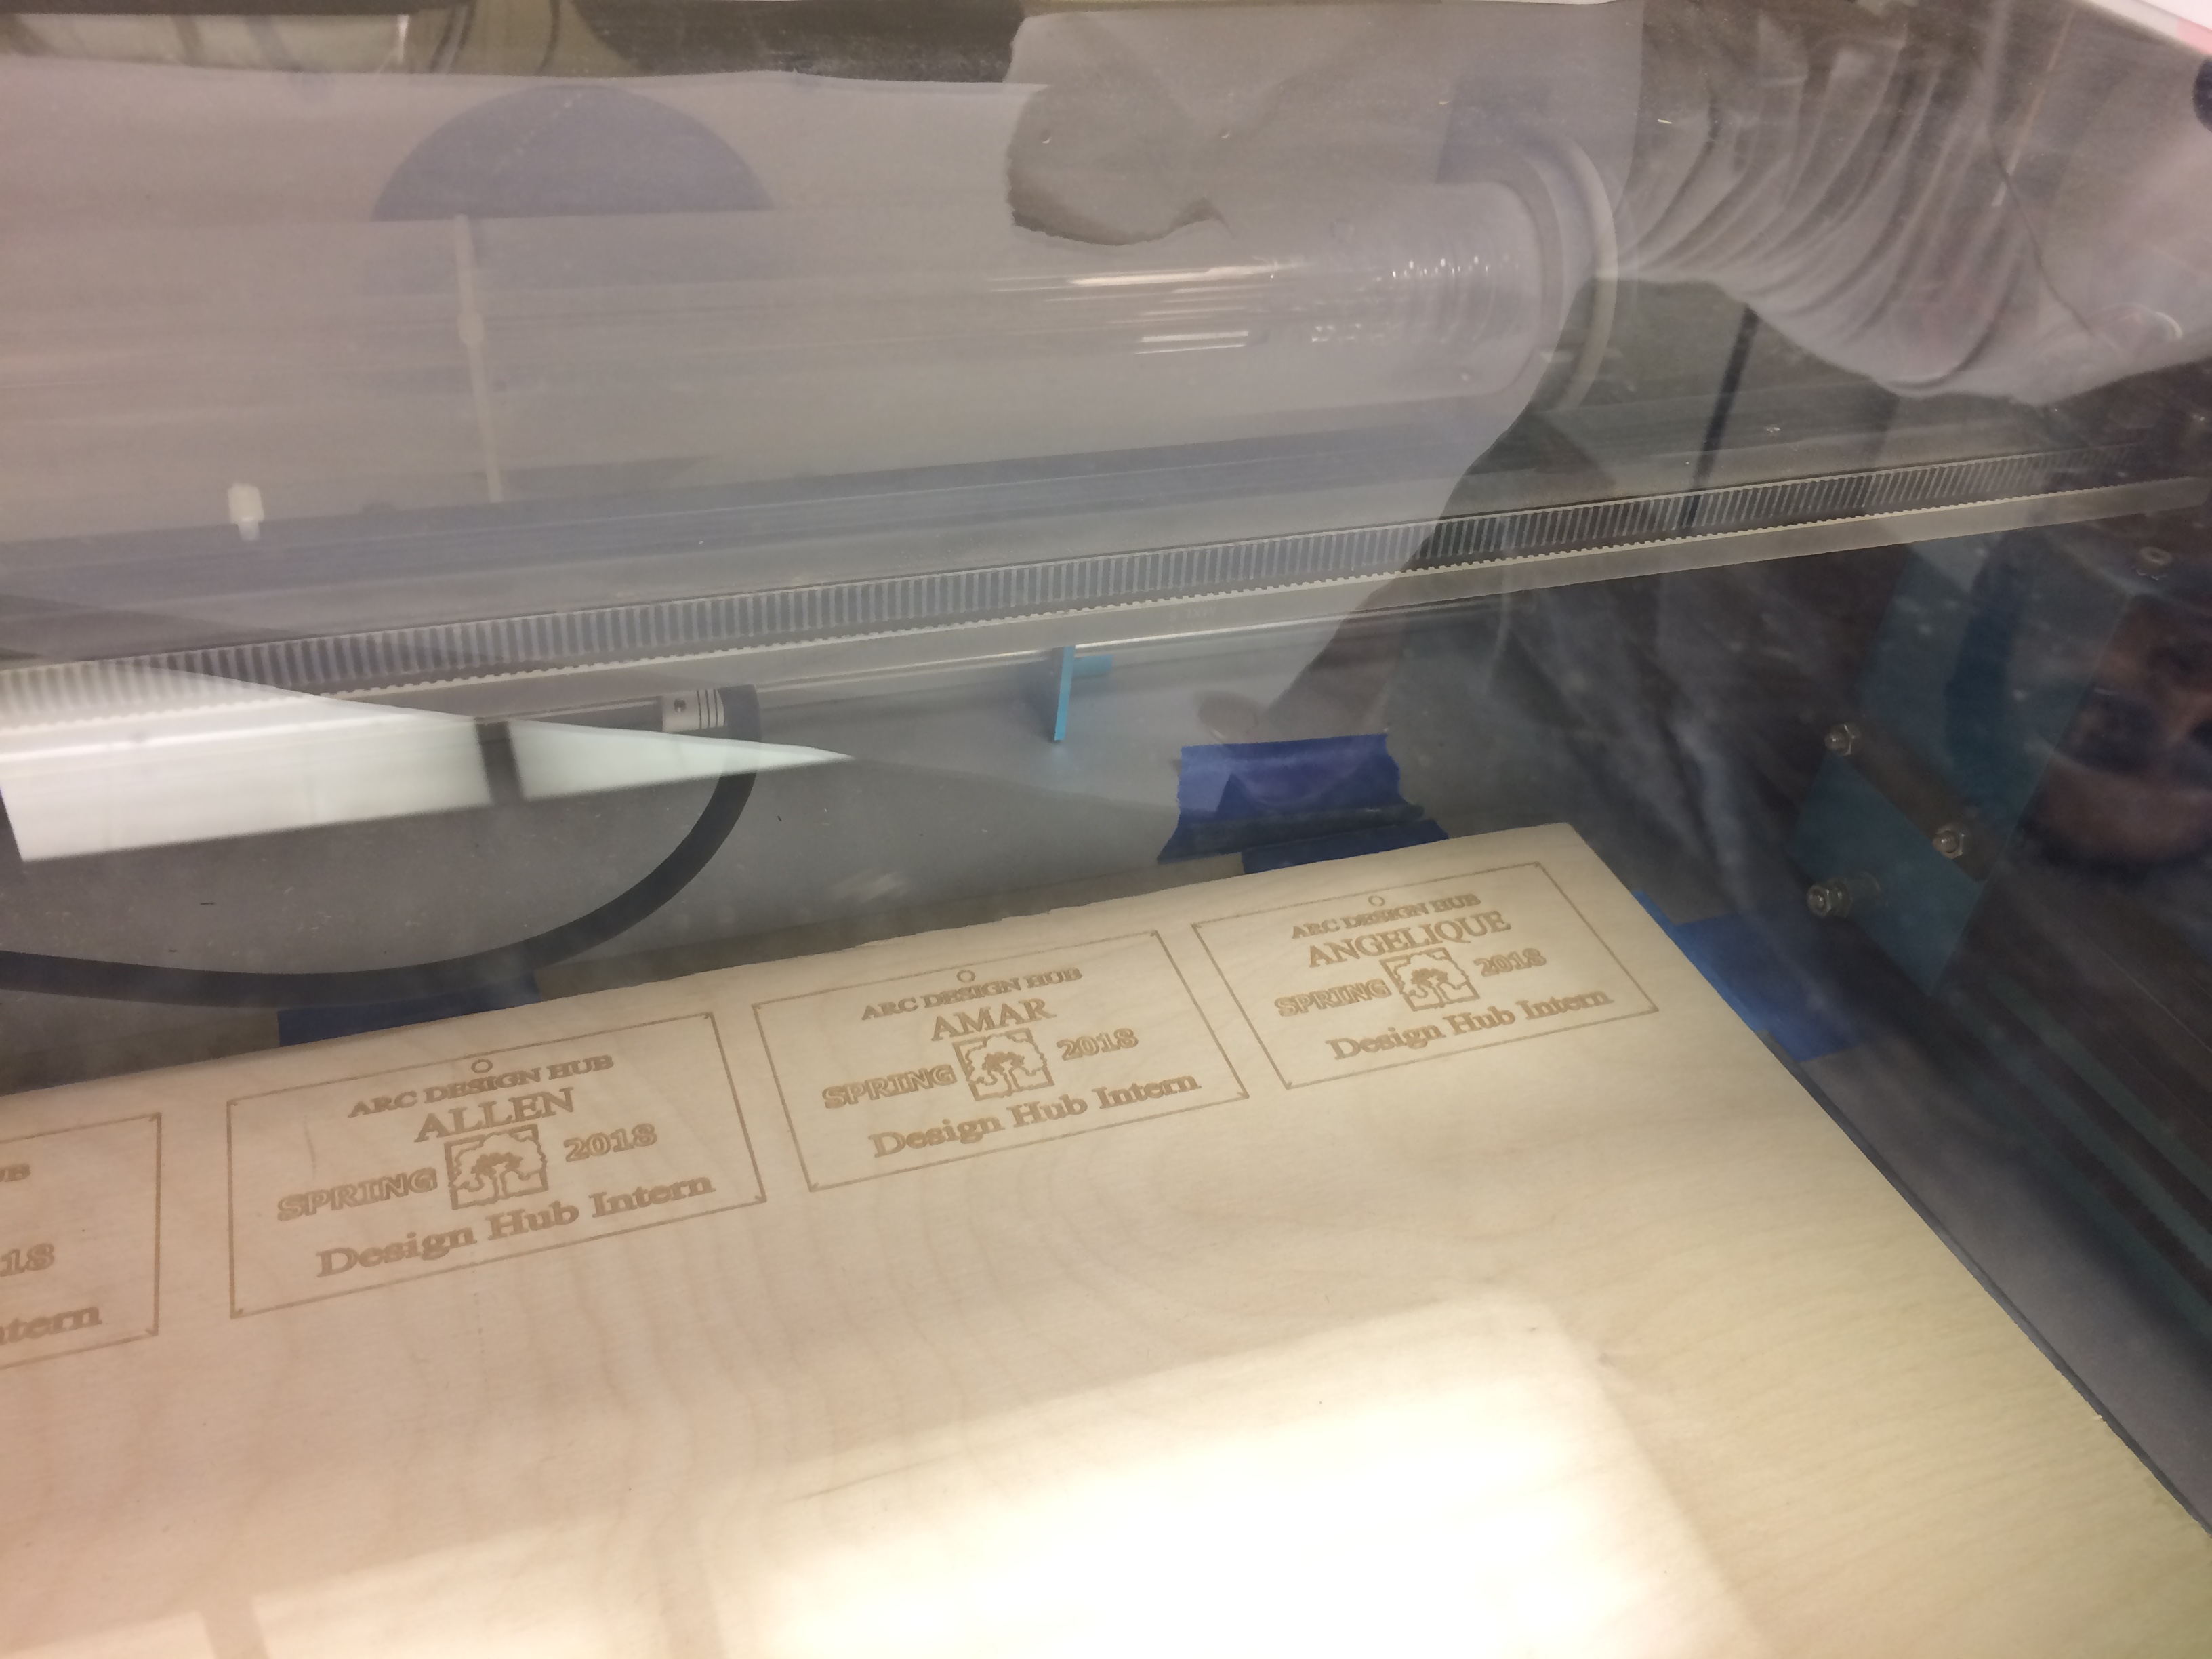
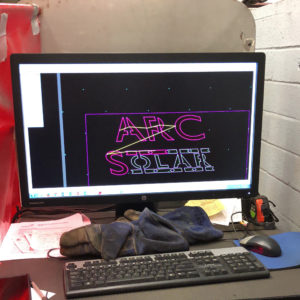 We took a closer look into the process of making these signs. Needless to say, there are a lot of steps and close attention to detail that is involved. First, our intern Allen has to align the Plasma Cutter with the sheet of metal through coordinates on the computer. After aligning the Cutter, a font must be picked and placed within the coordinates to determine where they will be cut on the metal.