Design Hub Interns Work to Save Our Water Systems

Photo by Intern Angelique Doty

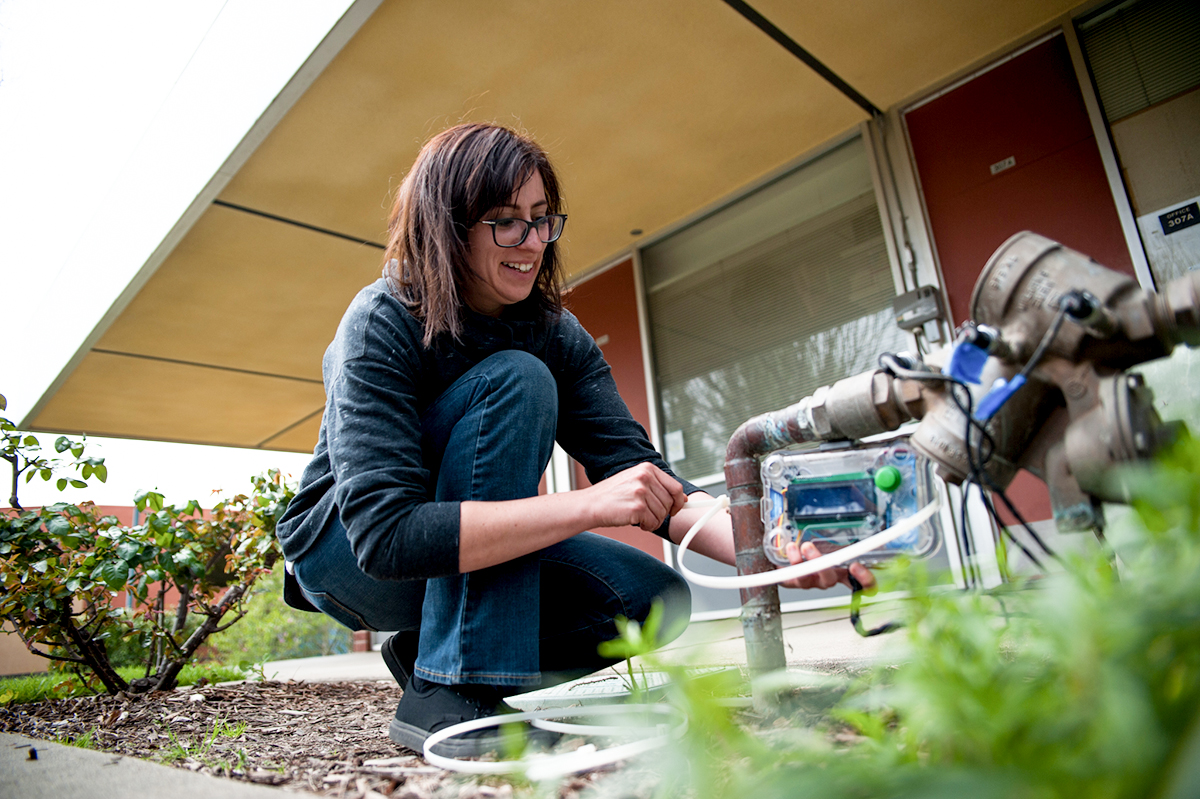
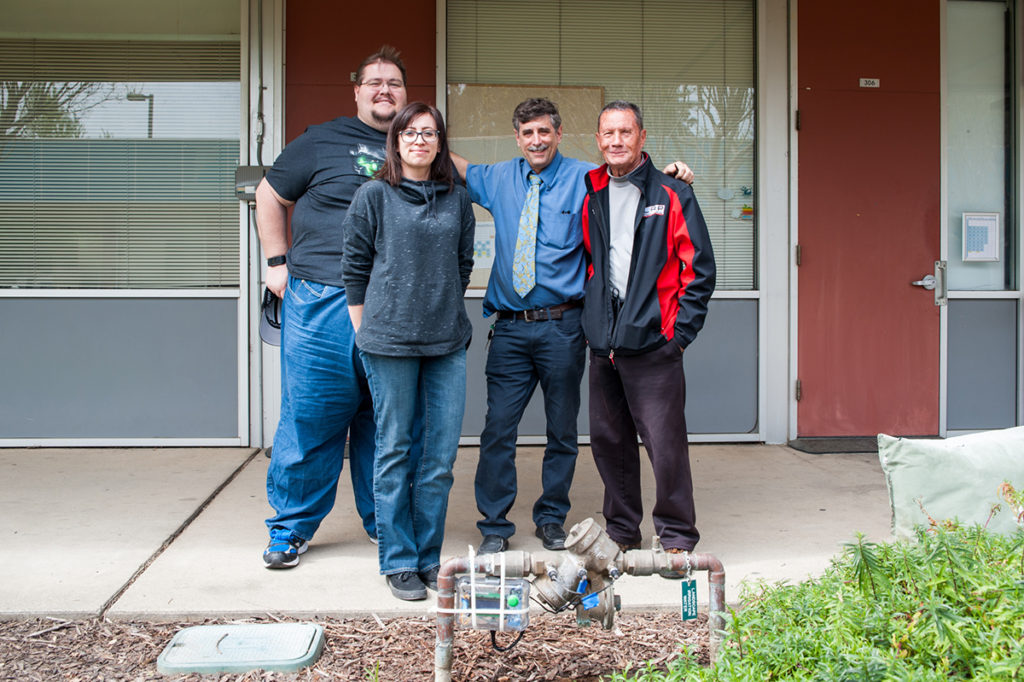
Here we meet our Design Hub interns, Dave and Melissa, to explore their new project titled, “Constant Monitor Backflow.”  Dave and Melissa, as well as our Design Hub team lead Randy are involved in the fulfillment of the project. Randy was asked by a former co-worker, Bernie Clark, who does field research for Watts, Aims, Fab Co, and most of the back flow companies.

Pictured: Dave, Melissa, Randy, Bernie. Photo by Intern Angelique Doty

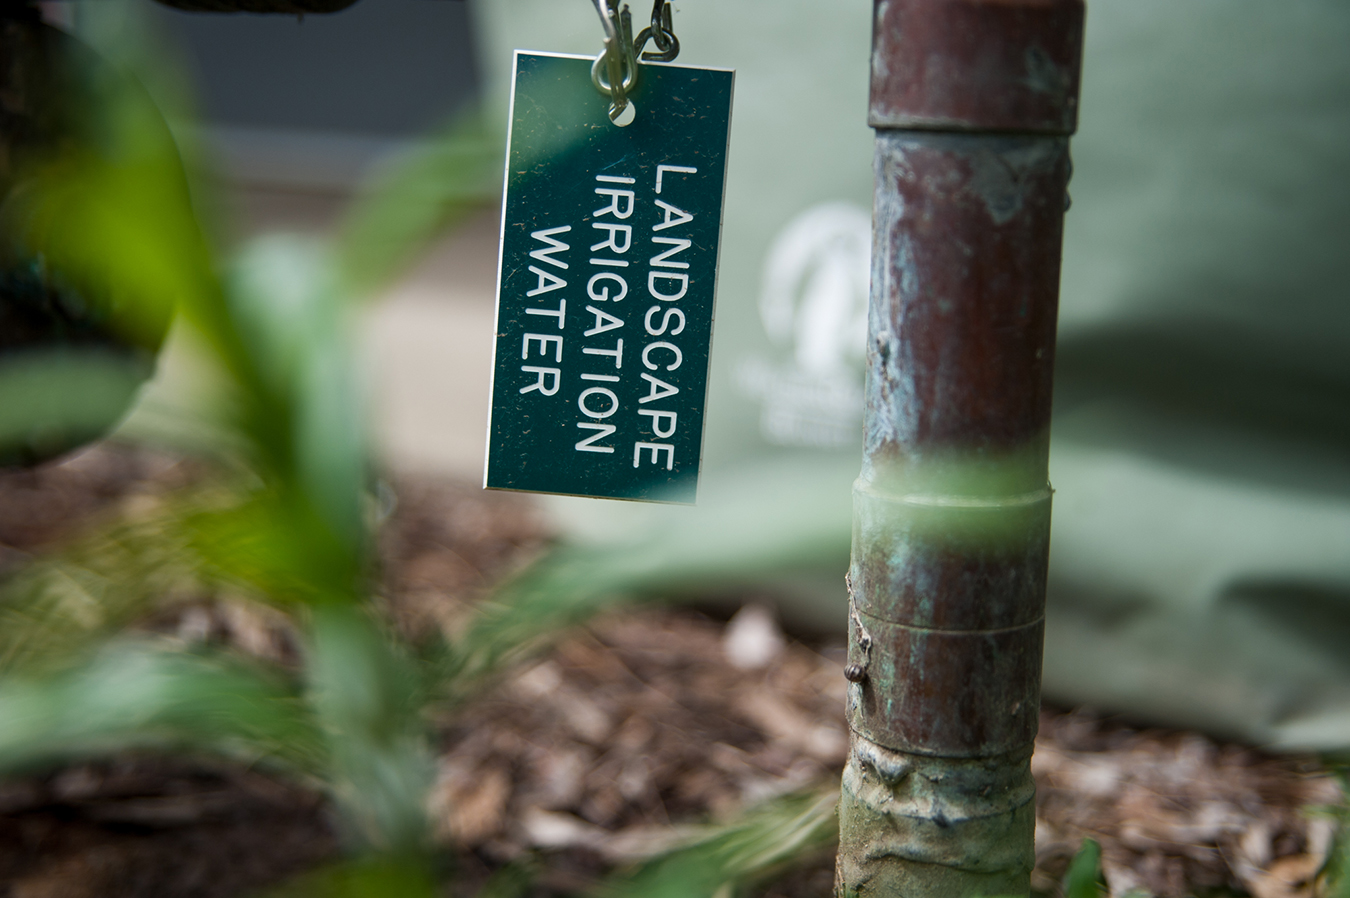
This project has to do with our water systems, where the industry today is faced with a challenge. From time to time, our potable water sources can come in contact with contaminants, and the problem our population is faced with is detecting when exactly this happens. Currently, there are annual tests that detect problems, but this is a cause of concern because they are not only costly, but we have to wait a year to see a problem. By the time any problems are detected from these annual tests, damage could already be done, and even more time and money would have to be spent in order to fix these problems.

Photo by Intern Angelique Doty

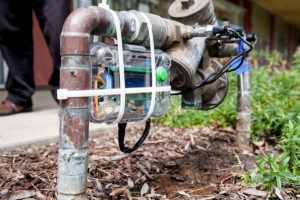
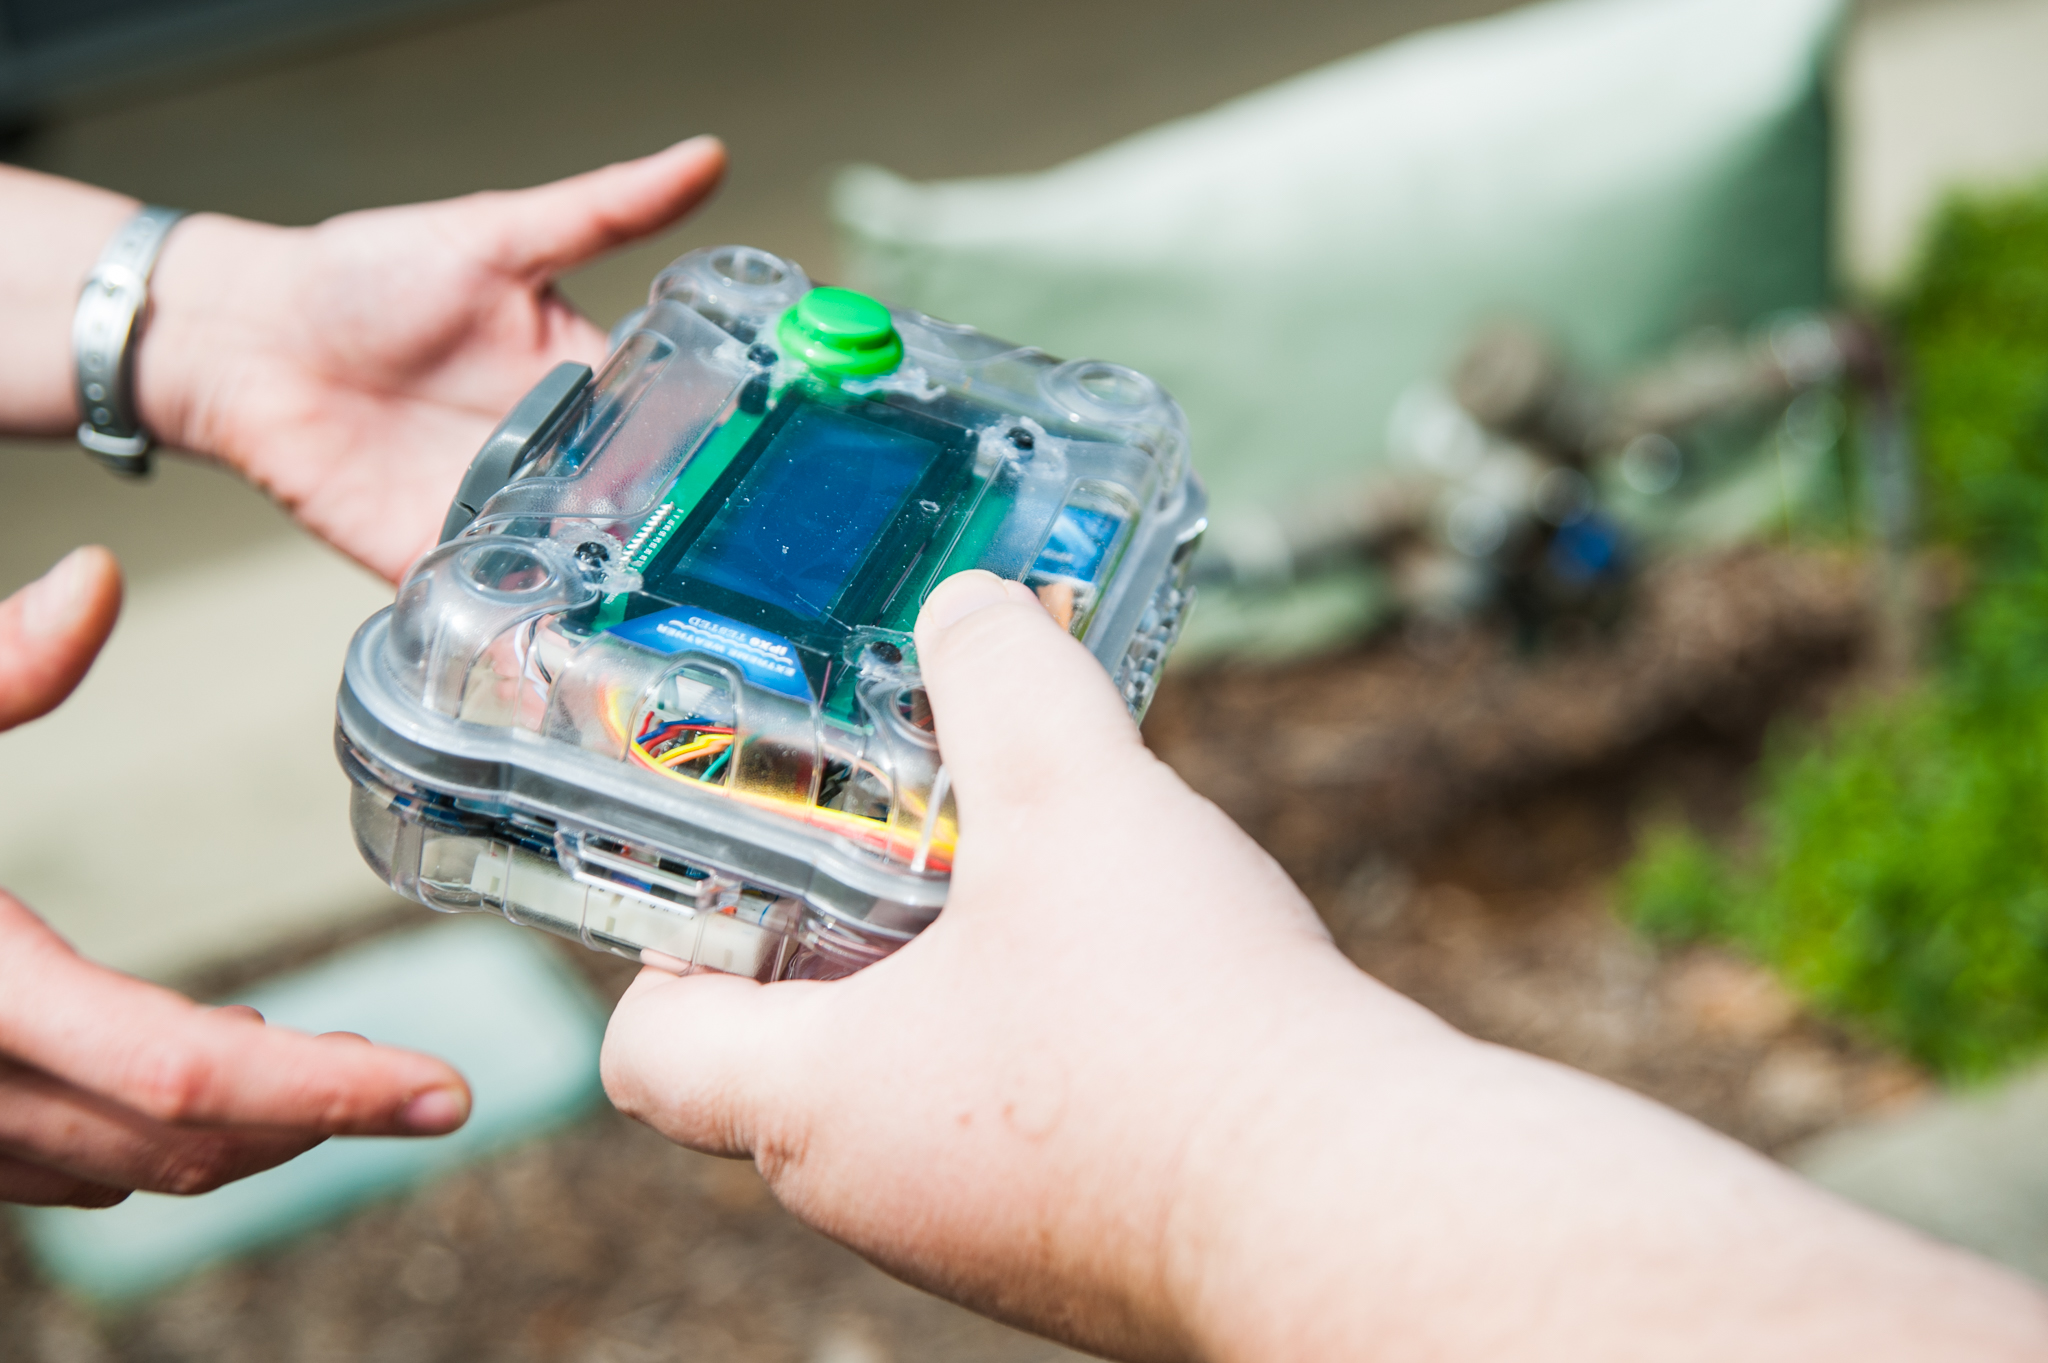
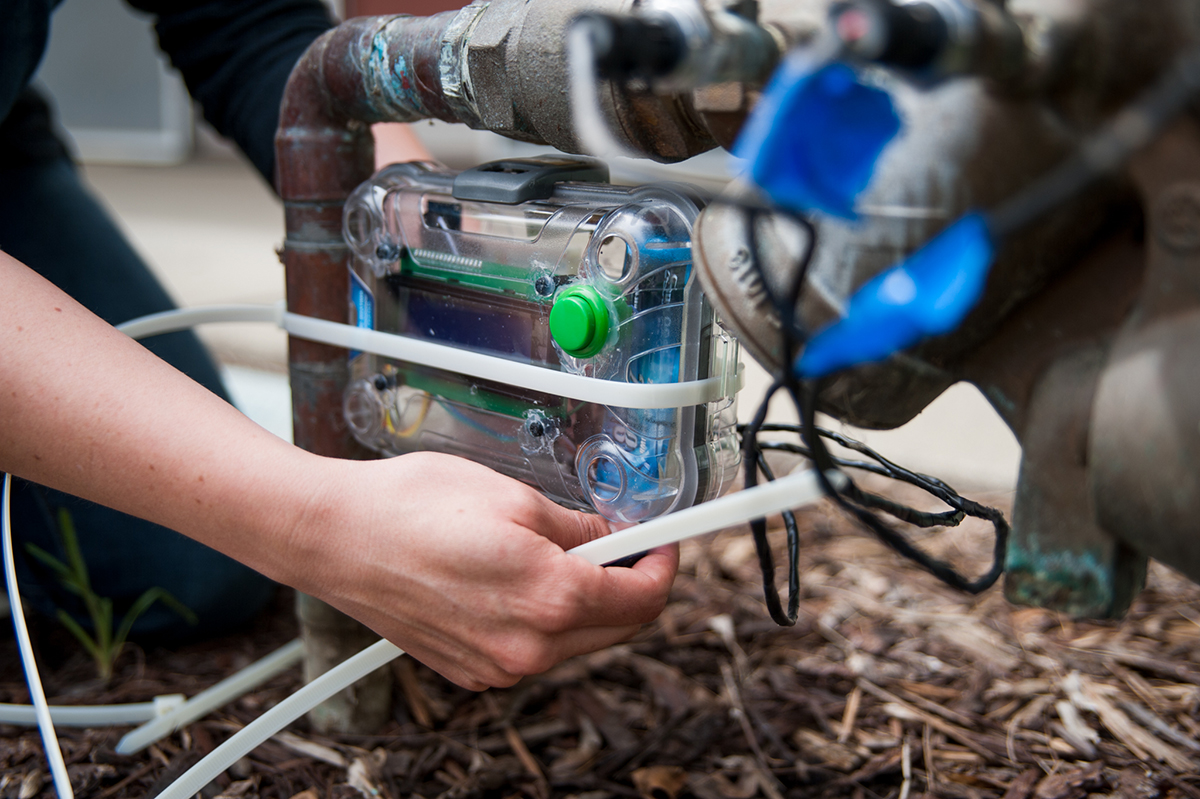
Of course, our interns saw a challenge, and came up with a solution: blackflow prevention monitors! What the Constant Monitor Backflow project is setting out to do is to eliminate this scenario by implementing a new system where we monitor the backflow prevention to detect problems before they happen. These backflow monitors detect the contamination of the pure water with the sewer lines quickly, providing data that is easily accessed. Now it can be constantly monitored, which will help to detect problems sooner so that they can be fixed in a timely manner.  This will increase productivity, and they do not need to turn off the water for the constant monitoring, unlike the annual tests, where the water has to be shut off.  

Photo by Intern Angelique Doty
Pictured: Intern Dave, hard at work. Photo by Intern Bailey Wineland

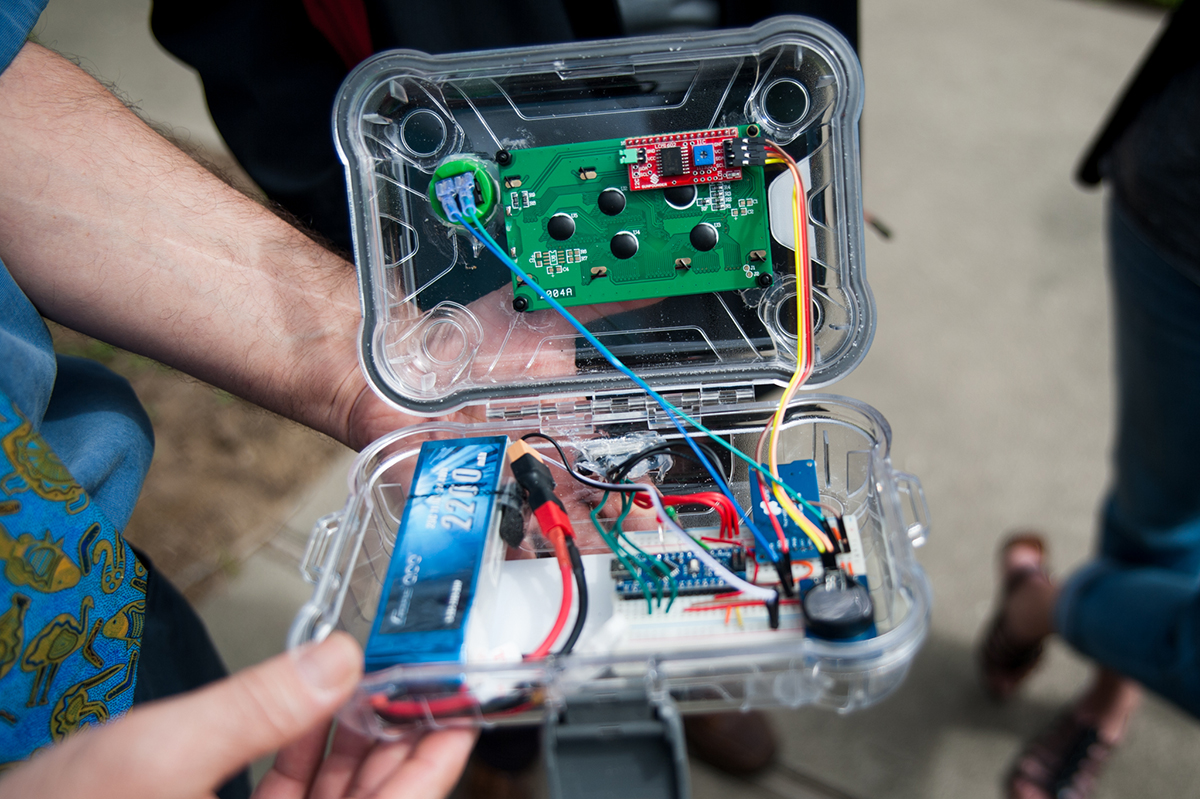
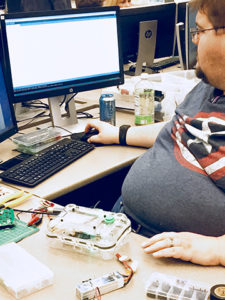
Without the hard work of our dedicated interns, this project would not have been made possible. It began about two years ago, and as this project has unfolded, Design Hub intern Dave has been responsible for the many hours behind the creation of these backflow prevention monitors. He tells us that everything that lies in place now within the confines of these little boxes, all started in his head. He coded the device in our Design Hub lab, making sure it would properly collect and display data, and hand-crafted the circuitboard, complete with all of the wiring and placement within the device.

Pictured: Intern Melissa, hard at work. Photo by Intern Bailey Wineland

Alongside Dave we have intern Melissa, who has been learning the ropes of this project and training as she assists in implementing these monitors. She will one day have the torch passed on to her as this project continues to evolve. Our interns predict that this project won’t end anytime soon, as it is constantly growing and they continue to brainstorm new ways to improve its productivity.

Photo by Intern Angelique Doty

We are hoping that by the end of the summer, there will be monitors set up all over the entire campus. Currently, we have one monitor backflow.  By the end of the summer, the interns’ goal is to have one monitor per backflow all over the campus. By increasing the number of monitors, this will help increase the prevention of problems.

Photo by Intern Angelique Doty

In the long run, we are seeking to collect enough data to prove that these devices, though small, are actually quite mighty. As our interns work to fine-tune these monitors, our hope is to have the opportunity to impact an important industry in a vastly positive way. Few things are as important as safe drinking water, and we are setting out to keep it safe in a clean, efficient, and budget-friendly way.

Photo by Intern Angelique Doty


Student Commission: Anime Character

Painted by artist intern Erika Gonzales, photo by photography intern Angelique Doty

Here we meet up with Erika Gonzalez, the artist intern at the Design Hub involved in past projects such as the Ishango Bones and the Cell Membrane projects. Now she shows us her beautiful new sculpture that she is painting for Jiajun Guan.  The people involved in this wonderful new project are: Erika Gonzalez, Jiajun Guan, and a team of 3D modelers and 3D printers.

Painted by artist intern Erika Gonzales, photo by photography intern Angelique Doty

Jiajun Guan found Erika painting the Ishango Bones (discussed in the other blogs and twitter posts) in the Design Lab 211, and was so inspired by her fantastic artistic talents with the paintbrush that he asked Randy, our tream ead at the Design Hub, to recruit her to do some work for him too!  Erika was assigned to paint the generic anime character for Jiajin Guan, and she finished beautiful painting in 11 hours of work from March 8- March 12! Soon this sculpture of the generic anime character will be moved from the Design Hub Room 311 and will probably be moved to a place for student to stop by and look at it, or it may be placed on Jaijun Guan’s desk.

Painted by artist intern Erika Gonzales, photo by photography intern Angelique Doty

Even though this beautiful sculpture is the only of her kind, we can all look forward to seeing Erika Gonzalez’s fantastic art skills in the future projects that she will be participating in. She will be collaborating with Jiajun Guan with the Snow Wars project, specifically, working on the development of “Snow Wars Santas.”

She uses the same techniques as the cell membrane and Ishango bones projects: she paints the sculpture first with acrylic paint, then seals in the paint with Mod Podge. What was different with this sculpture was the way Erika painted the eyes: with an ink pen!  She used the ink pen to add gentle and minute detail to the character’s eyes, giving them a certain life and sparkle. We are definitely looking forward to future art and 3D printing collaboration projects to come!

Laser Engraving at American River College

The Design Hub of American River College conducted one of the first projects using the Laser Engraver.  Shailza, one of the laser engraver interns working on this project, demonstrated how it produces the gentle, artistic shades of black and white on the sturdy wooden boards.  Plywood is used as the canvas, and the laser carves in its drawings. The Laser Engraver obeys the commands sent by the software on the computer to create whatever artwork the intern orders it to.  For this particular project, the deliverables are name tags made of wood for all the interns who are working for the Design Hub.

This project of engraved name tags gives all the interns a sense of community, since we are always collaborating and working together to contribute each unique skill set to the various projects.  The original idea for this project was right at the beginning of this spring semester because it gives a feeling unity and family to the new incoming interns just now joining the team. The engraved name tags were completed a couple of weeks ago, and can be viewed in the Design Hub lab.  Even though the actual project for the engraved name tags is complete, the Laser Engraver will be frequently used during the full course of this semester. 

The Full Spectrum Laser Retina Engrave 3D software orders the laser to cut out the name tags. The shaded pink section we can see in the photo to the left is the area that the laser already engraved, and the white areas are what is left to be carved until the project is finished.

 Shailza, a hard-working intern trained in the art of laser engraving, showed a one-on-one demonstration of the laser engraver in action!  First, you open up the file in the special software, Full Spectrum Laser Retina Engrave 3D. She showed the computer settings required for the engraver.  

FUN FACTS:

  • Whatever image that the intern wants to print must be in xps format
  • The raster power CANNOT be at 100%- we have found it most effective to be set at 65-70% for the best wooden artwork.
  • The raster speed is set between 45-50%, and the vector layers power is set at 70%. The IP address should show up on the laser screen.
  • And “Slow jog” isn’t just something a student does when they’re late to class on a Monday morning after sleeping through their alarm, it’s also the setting on the control panel to give the intern more control over the laser so it doesn’t go flying off in a frenzy.

Once the settings are properly set, the wood is positioned to be carved into, and watch the time at the bottom of the screen allows the students a time frame for when their project should be completed.  The average time is 7-8 minutes- like for the name tag project- but it depends on the size of the wood/project.

The laser engraver, Photo by photography intern Angelique Doty

The next project also on the Laser Engraver leads us to meet Jacob Olson, who brings ideas to life through the art of 3D printing and laser engraving.  He is trained in laser engraving and is a solid modeler for the Design Hub. He also tutors design technology programs such as Autocad, Revit, Sketchup. 

Jacob takes family photos, and creates images printed onto wood through the scientific world of computers, cyberspace, and LASER TECHNOLOGY (cue the “Twilight Zone” theme song).  

Jacob is providing this project with his own family photos of his great grandparents, inspired by his father’s idea, and giving them as a present to his grandpa. The end product will be a collage of family photos laser engraved in the plywood.  Jacob showed us around the laser engraver to get a feel for it and showed me exactly how the machine works: the water filter from the bucket pumps up water and keeps the laser tube cool while the exhaust fan pulls out smoke and filters out the exhaust to prevent turning the interns’ hard work into a barbecue.  There’s a cycle of water that goes from being pumped from the bucket, to the laser tube and back to the bucket in a little circle of life. 

The artists of the Design Hub have an ongoing task of creating new ideas to contribute to being engraved into wood using the Laser Engraver.  There has been extensive training to prepare the interns on how it’s used, including training sessions they attended, as well as sample tests before running the actual name tag project.

ARC Design Hub Drones Take to the Sky!

Photo by photography intern Angelique Doty

On March 2, 2018, middle school and high school students from Heritage Peak: Pacific Charter Schools visited the ARC campus to view the demonstration of drone flying put on by the drone-flying interns of the Design Hub: Sean, Jason, Shane, and Allan.  Jason demonstrates the flying of the drones using remote controls, while Sean presents the technique of using hand gestures to direct the drone on where to fly. The basic ground rules for the drone flying demonstration in the gym was for all people in the gym who are not currently involved in the drone flying to stay behind the blue line, except for the individuals who are either showing the students how to fly the drones, or the students actually participating in flying the drone. Angelique, one of the Design Hub’s photography interns, had the opportunity to fly the drone. “Jason showed me how to guide the remote control to direct the drone to wherever I wanted it to go. It was like a real life video game!” She tells us afterwards.

Angelique is the Design Hub intern behind capturing the photos of these drones, and is our eyes and ears for fantastic events like these. She is one of the several very talented photographers we have on our team, and is an integral part in bringing the Design Hub stories to life. She takes our articles to a whole other level, because without pictures these pieces would be all bark and no bite. Here is a quick thank-you to her!

This event Angelique covered was made possible by the CTE department reaching out to the drone flying interns of the Design Hub through Randy Schuster, who put this event together. This event was put in place to encourage more students to discover all the different educational opportunities that ARC has to offer. There will be further development and a build of programs, especially in the photography and agriculture departments.  The drones will be flown on campus in certain areas. For this event, it was held in the gym and on the neighboring field. Due to restricted airspace, there are regulations for how far the drones can be flown in the air. They are in the process of setting up another drone flying event on a specific day during the month of April, and are working on getting certain days set up to fly the drones during the semester. 

Photo by photography intern Angelique Doty

Flying these drones isn’t the only thing our Design Hub interns get to do, either. We actually make them by hand here in the Hub’s maker space! Every piece is designed on the computer by our modeling interns, and sent to be 3D-printed in our 3D printing lab. From there, the pieces are assembled by hand, and the tech needed to fly the drone is inserted into the drone body. Then, voila- we have a drone that is ready to fly! No drone kits required. Here at the Design Hub, our students really take pride in their work, and are happy to share with others and inspire younger students like the ones at Heritage Peak. If we left at least one inspired student from this visit, we consider that a win, and we hope to see that inspiration someday flourish into something great.